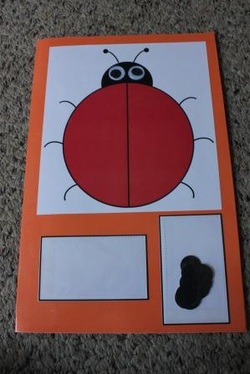
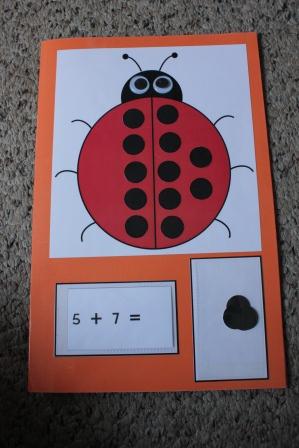
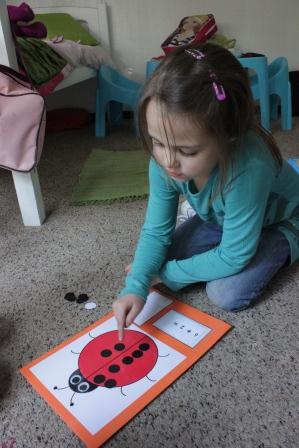
A simple addition maths game for Grade R/1 level. Using the spots provided, place the relevant number on each side of the ladybird.
You will need:
Printed template
Plastic Card holders
Board File Folder
Self Adhesive Plastic
2 Goggly eyes
Double Sided Tape
I printed out the template and laminated everything to help them keep longer. I used a board file folder and covered this in self adhesive plastic. The ladybird is then placed on the front cover toward the top of the folder. At the bottom, you will need to place the templates first and the plastic card holders. These will be used to store the spots and the card that is in use.
| On the inside you will need to stick down the plastic card holders (so that they flap up as this makes it easier to get the cards out). This is where you will store the cards. I have included subtraction cards simply to create an all round maths game, although the Ladybird concept does not work with subtraction. The template will print 12 addition and 12 subtraction cards. | |
 | Ladybird Maths Template | | File Size: | 11 kb | | File Type: | pdf |
Download File
| Use a card from the inside of the file and place it in the holder on the front. Use the spots to represent each number on each side of the ladybird. Download template below. |
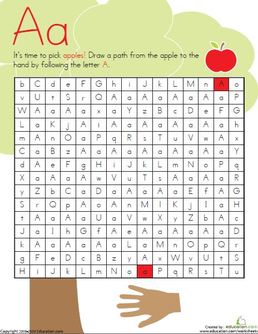
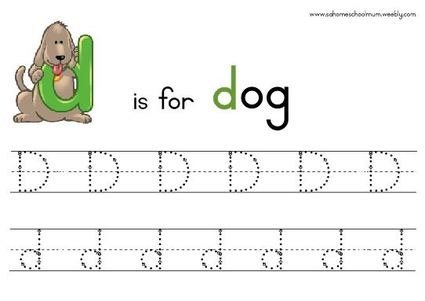
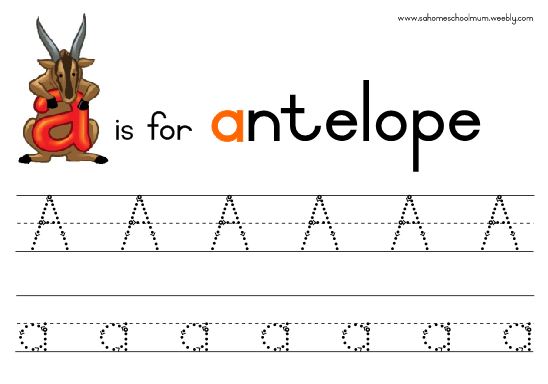
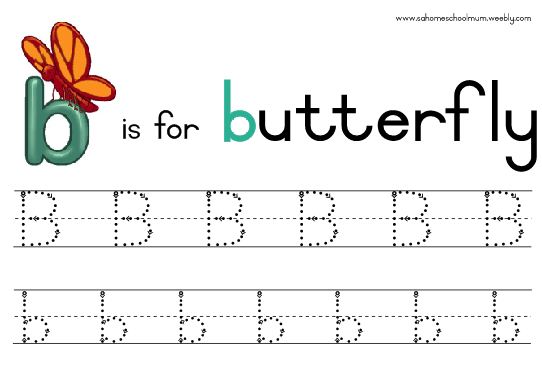
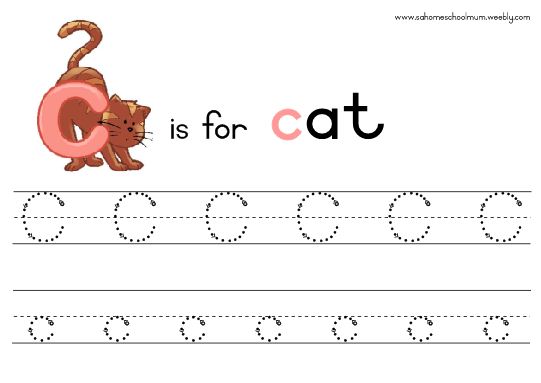
Fun alphabet tracing sheets to help your kids learn to write the letters of the alphabet. Teach both upper case and lower case or focus on just one. Each page has a fun picture of an animal starting with the letter as can be seen on the few sample pages below. I laminated each page so that the girls can use them over and over again with a white board/erasable marker. Download these templates now.
| Animal Alphabet Tracing Sheets A-Z |
| File Size: | 532 kb |
| File Type: | pdf |
Download File
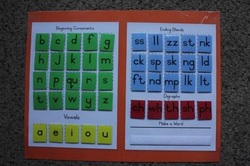
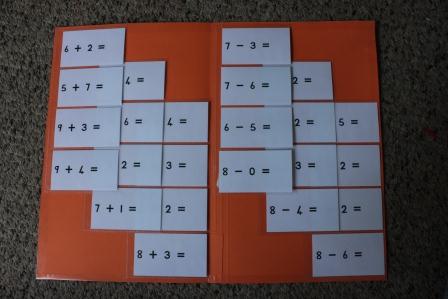
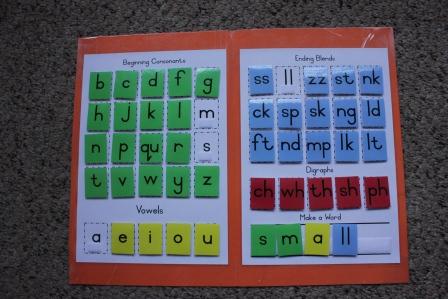
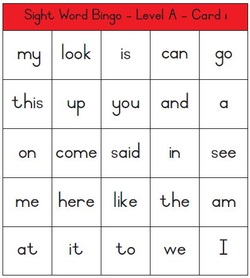
Jellybean has suddenly started understanding that 2 letters together blend into one sound and she is now rapidly building words. She now also understands that every word must have a vowel after I explained that each word must have a yellow letter in it. This has helped make reading difficult words easier as she is learning that words can get broken down into sounds.
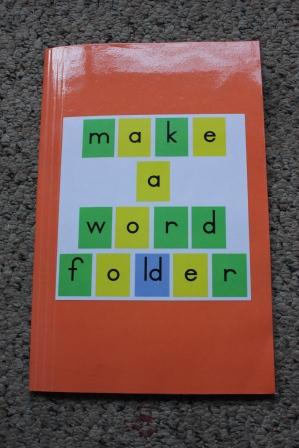
I saw this on the net somewhere (if I remember where or I can find it again, I will post the link) but the one I saw was made up of post-it's. With the rate at which my girls manage to destroy things, Post-It's would never have lasted longer than 5 minutes, so I decided to make something a wee bit more sturdy.
To make this workbook, I used an orange file folder, self adhesive plastic, templates (laminated), self adhesive velcro strips and double sided tape.
I covered the orange file folder with the self adhesive plastic on both sides to make it sturdier and hopefully last longer. I then laminated the template pages and stuck to the folder with the double sided tape (not the thick puffy tape). I laminated the colour letters and cut each one out to fit onto the template. I then used the self adhesive velcro to attach each letter to the template so that they can be easily removed and placed back. In the "Make a Word" section, I placed a long strip of velcro so that the letters can be moved to build words.
Herewith template:
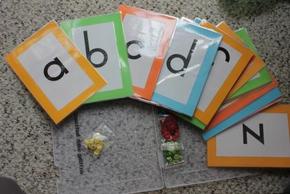
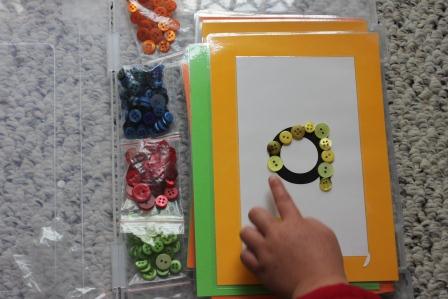
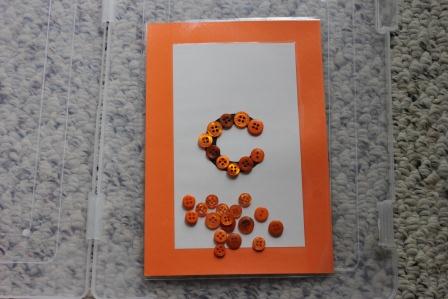
Here is another great way to help your kids remember the letters of the alphabet. I printed out each letter (template below with 2 letters per page) and pasted it onto a coloured board 1cm thinner than an A5 size. Reason for this is so that i could laminate 2 letters per A4 page and still have a gap in the middle to cut them apart. I used 5 different coloured board and have 5 different coloured packets of buttons to correspond with the colours of the board.
The girls get to use the corresponding coloured buttons to "write" each letter. This helps them to remember its shape. We then spend time going over the sound that each letter makes and they need to think of at least 3 words that start with the letter they are working on.
| Alphabet Button Cards Template |
| File Size: | 14 kb |
| File Type: | pdf |
Download File
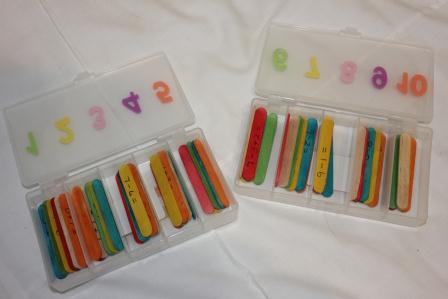
I decided on a simple game to start Jellybean with basic mathematics, but wanted something that would be fun.
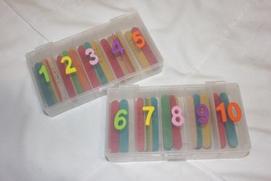
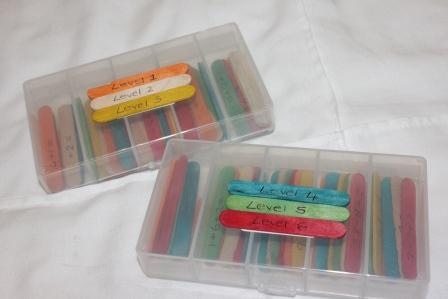
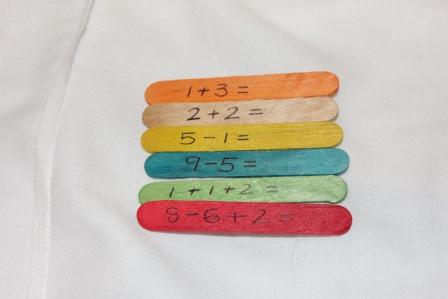
I used 6 different coloured small ice cream sticks so that I could create different difficulty levels. Each level is still fairly basic as this is her first real introduction to maths.
The idea is that she needs to empty all the sticks out of the containers and first sort them into their different colours / difficulty levels. Then she needs to start with Level one and after working out the answer on each stick, place it in the appropriate box numbered 1 - 10 depending on the answer. All answers on all sticks are within the 1 - 10 range.
There is one stick for each box in each level - a total of 60 sticks or otherwise 60 sums.
This is such an easy maths game to make and makes solving maths sums so much fun.
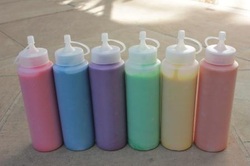
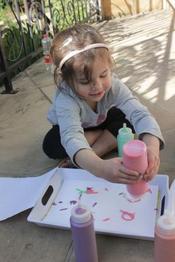
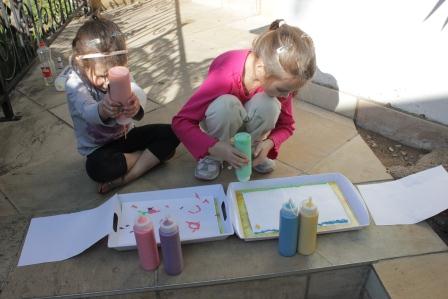
Painting is always an all time favourite for kids. Puffy Paint is just so much better though! I made 6 different colours and decided to store them in squeezie bottles so that they are easy to use when painting. For those of you in the Johannesburg area, I bought the bottles at Westpack Packaging at the Lifestyle Centre for R3.50 each.
Puffy Paint Recipe
To fill a 250ml bottle for each colour you will need:
- 125ml flour
- 125ml salt
- 125ml water
- Food colouring of your choice
Mix all ingredients together and fill up your squeezie bottle.
Once your kids are done painting, leave their artwork to dry overnight
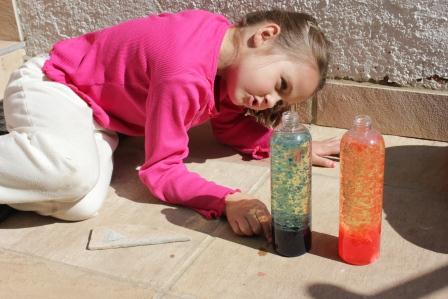
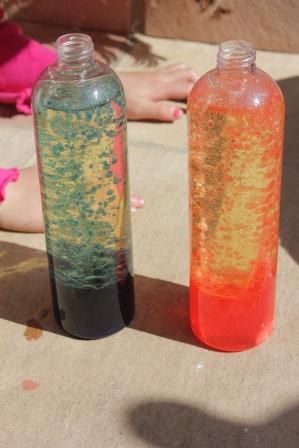
Kids love nothing more than a super cool science experiment. This experiment was no exception. Lava Lamps! Here are instructions on how to make your own lava lamps.
You will need:
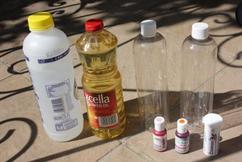
- A bottle of tap water.
- A bottle of sunflower/vegetable oil.
- Clear plastic bottles (1 per child)
- Food colouring
- Effervescent tablets (I used Corenza C as it is a clear effervescent and inexpensive)
- Small jug.
To make your lava lamp:
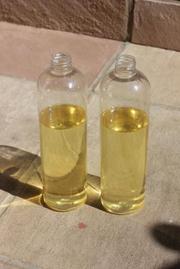
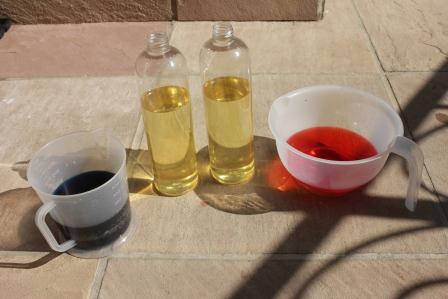
| Step 1: Fill each bottle two thirds of the way with your sunflower oil. | Step 2 :Mix a water and food colouring solution in a small jug. You will need one for each different colour lava lamp you are making. |
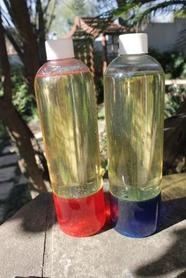
| Step 3 : Fill your bottle till about 2 cm from the top with your coloured water and leave for 5 minutes to settle. | Step 4 : Break your effervescent tablet into 4 and drop each piece into your lava lamp bottle. Watch as it bubbles up into the oil. (NB!! Keep the lid off) |
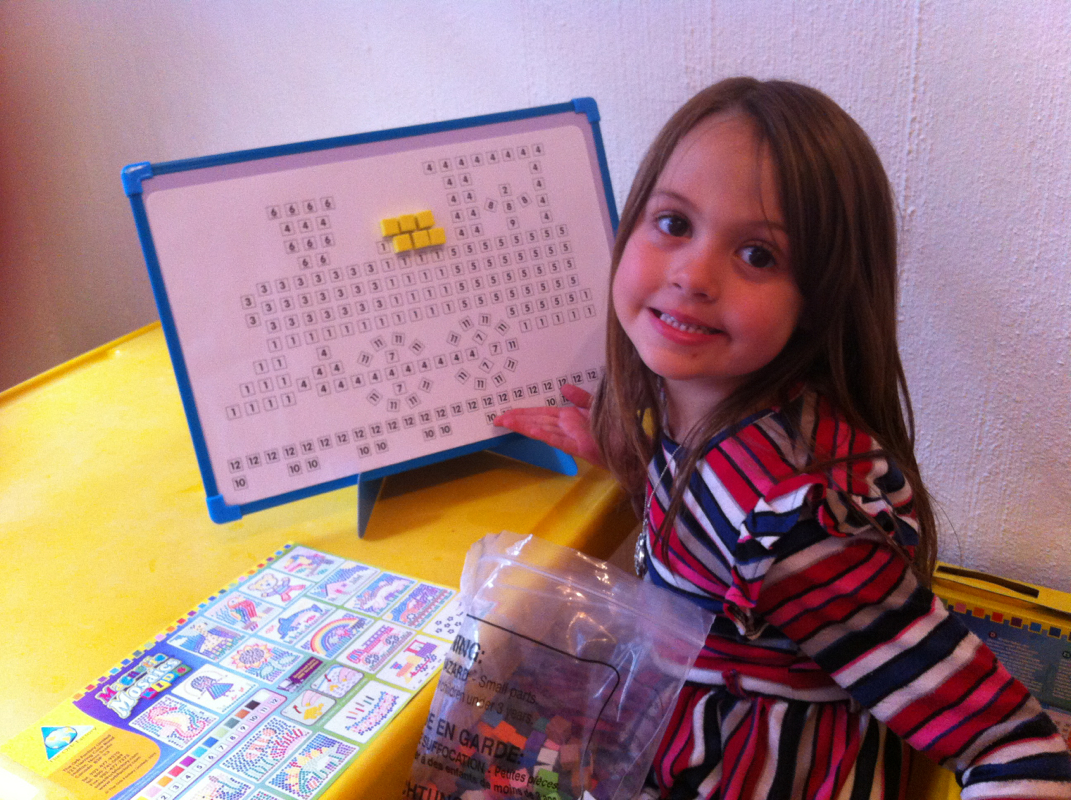
On a shopping trip to an educational toy shop last week, I came across a mosaic board for the kids. My girls, especially Genevieve, absolutely love to build these mosaic pictures. I try to buy as many as possible, but find it fairly taxing on the pocket having to buy a new one every week and then 15 minutes later, the picture is complete and the fun is over.
So you can imagine my delight when I came across an A3 sized, magnetic mosaic set with 20 different pictures to build (and a website to download more). This comes down to hours of fun and then we get to pack it away and build it all over again tomorrow!
I am amazed to see how hard she can concentrate and for such a long time. What a great way to teach concentration and focus, along with numbers and colours - all in a fun, arty way.

 RSS Feed