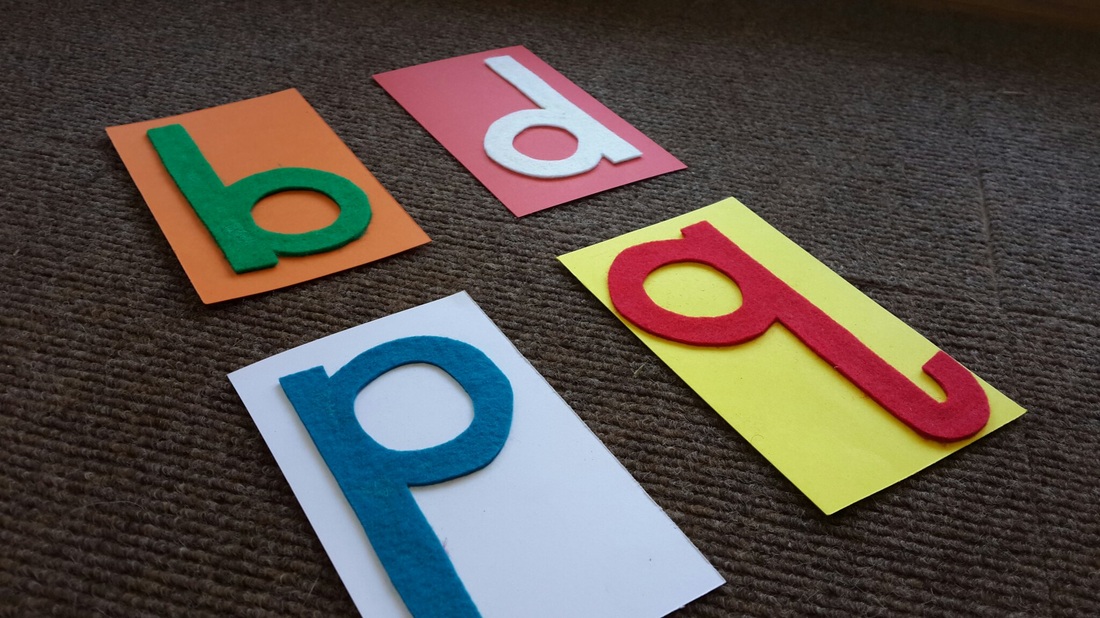
Most children become confused with the lowercase 'b' and 'd' and also 'p' and 'q'. Why not make them tactile letters from either felt or sandpaper? (I used felt as cutting sandpaper is a nightmare). Cut your letters out and stick them to a piece of card 12.5cm x 7.5cm (3" x 5"). Let your children trace over the letters with their finger while saying the letter. Make sure to point out which side of the letter the bump is on. You can also make any other letters your children are struggling with.
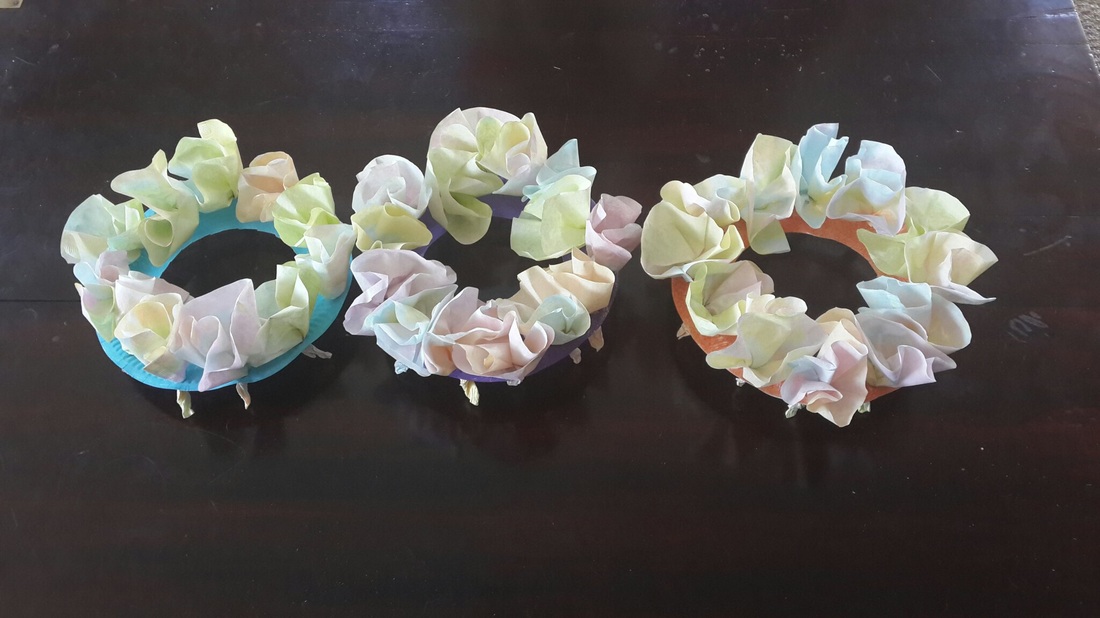
We found this awesome Easter Wreath at Happy Hooligans. To make this you will need the following:
paper plate
paint
brushes
coffee filters
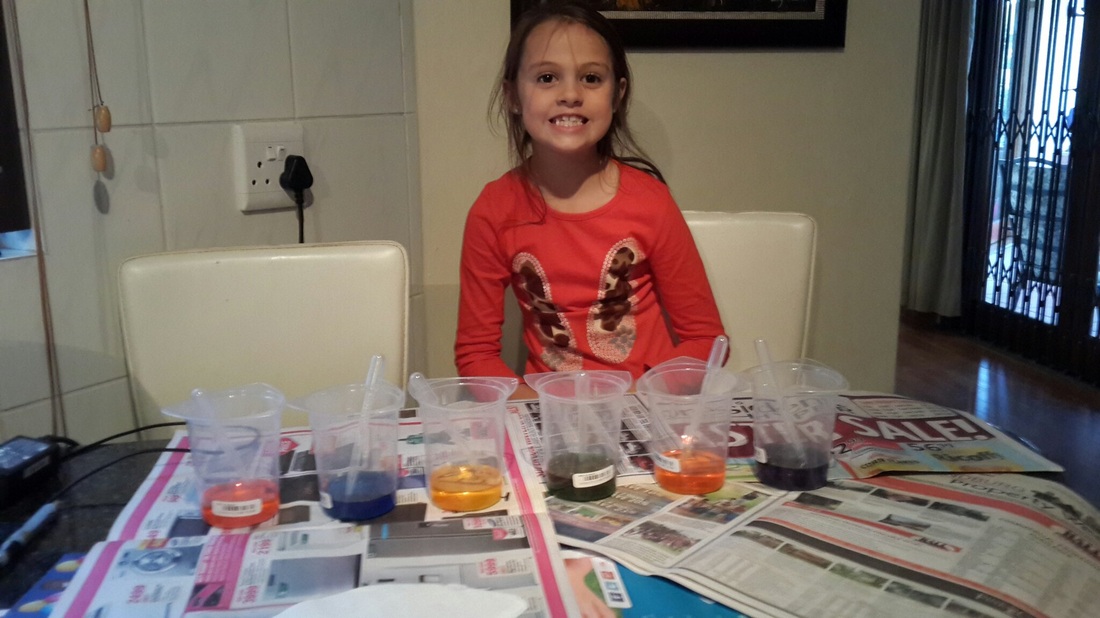
water colours (we just used food colouring in water)
pippettes or droppers
scizzors
single hole punch
Paint your paper plate and leave to dry.
when you plate is dry, cut out the centre leaving a ring.
Punch holes around the side of the plate (I punched 3 overlapping to make a big enough hole)
Use the pippettes to drop your water colours on your coffee filters. you can use many colours and the kids love watching them change as the colours mix.
Leave the coffee filters to dry. You can speed this up with a hair dryer if you wish. Once they are dry, bunch them into flowers and pull through the holes.
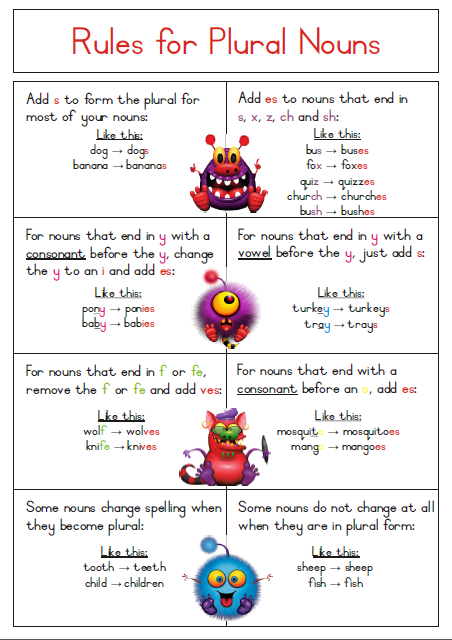
Here is a simple A4 poster to help kiddies understand the different rules when changing nouns from singular form to plural form. There are obviously always exceptions to every rule, however these rules apply in most cases.
Click below to download.

| plural_rules_poster.pdf |
| File Size: | 203 kb |
| File Type: | pdf |
Download File
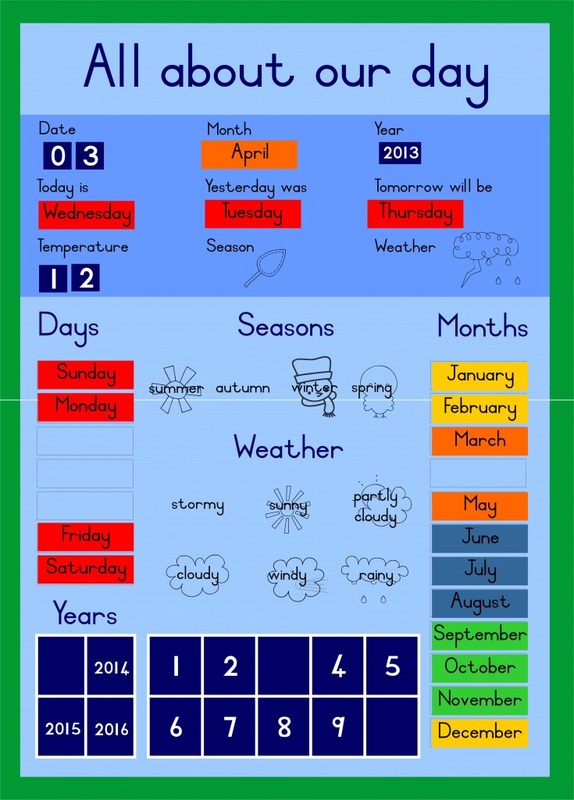
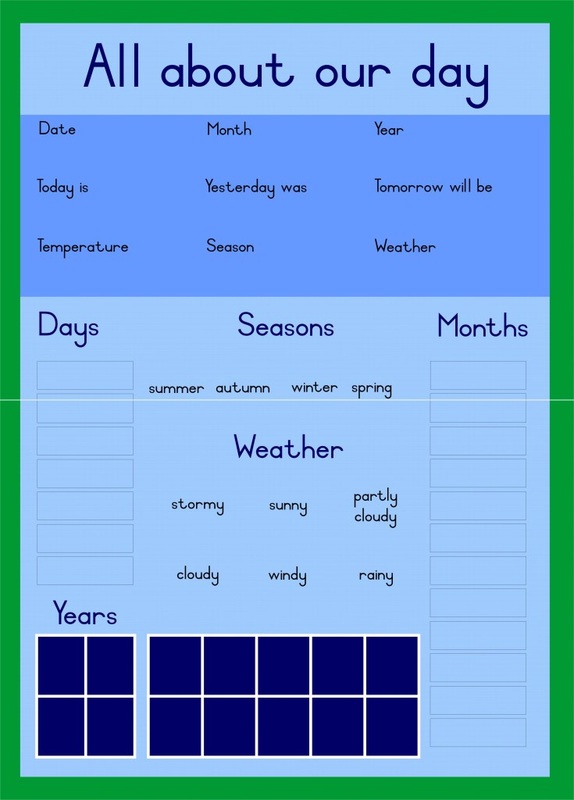
A3 sized Daily weather chart designed specially to print on A4. Print out, laminate and stick together to get your A3 weather chart. Then print and laminate all the months, days, precipitation pics, etc and let your kids change the chart every day to reflect the right details. Download everything here.

Considering we are starting to work with money in mathematics, I decided to make a poster which shows all the South African coins and notes and their values. This will help to teach the girls exactly what value is attached to each note and coin.
For the notes I used both the new 2012 notes as well as the older ones as there are still many in circulation.
You can download this poster below.
| south_african_money_poster.pdf |
| File Size: | 1458 kb |
| File Type: | pdf |
Download File
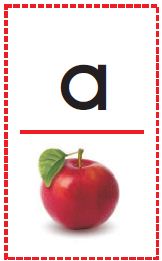
A simple set of phonics flash cards for each letter or the alphabet. I have put these up on the wall in my "classroom" so that the girls can constantly look at them and remember these without even really trying.
| Alphabet Phonic Flash Cards |
| File Size: | 505 kb |
| File Type: | pdf |
Download File
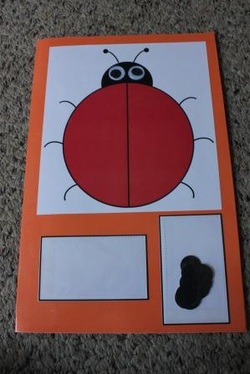
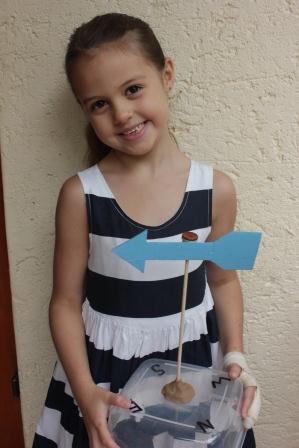
A simple addition maths game for Grade R/1 level. Using the spots provided, place the relevant number on each side of the ladybird.
You will need:
Printed template
Plastic Card holders
Board File Folder
Self Adhesive Plastic
2 Goggly eyes
Double Sided Tape
I printed out the template and laminated everything to help them keep longer. I used a board file folder and covered this in self adhesive plastic. The ladybird is then placed on the front cover toward the top of the folder. At the bottom, you will need to place the templates first and the plastic card holders. These will be used to store the spots and the card that is in use.
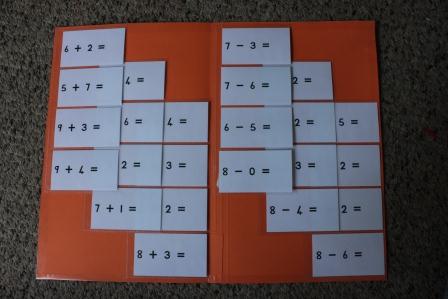
| On the inside you will need to stick down the plastic card holders (so that they flap up as this makes it easier to get the cards out). This is where you will store the cards. I have included subtraction cards simply to create an all round maths game, although the Ladybird concept does not work with subtraction. The template will print 12 addition and 12 subtraction cards. | |
| Ladybird Maths Template | | File Size: | 11 kb | | File Type: | pdf |
Download File
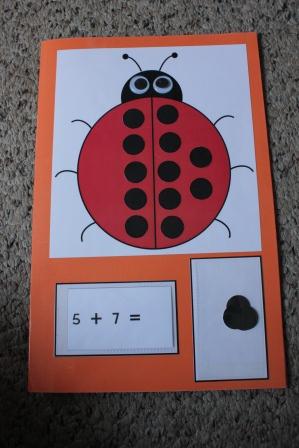
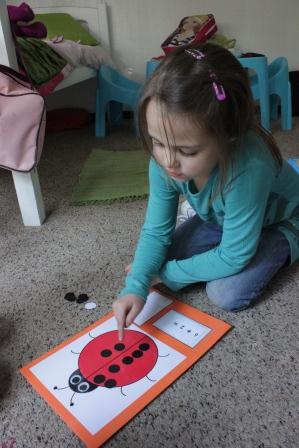
| Use a card from the inside of the file and place it in the holder on the front. Use the spots to represent each number on each side of the ladybird. Download template below. |
 RSS Feed